React Tapas 7: Reducers part 1
In previous episodes we used "react-query" library and it's "useQuery" to send http requests and manage the state. It was something like this:
const { data, error, status } = useQuery(['users'], () => ...)Today (as I promised, pun intended) I wrote a ulta-simplified version of the hook:
function useQuery(fetch: () => Promise<object>) {
  const [isLoading, setIsLoading] = useState(false);
  const [data, setData] = useState<object>({});
  const [error, setError] = useState<any>();

  useEffect(() => {
    setIsLoading(true);
    fetch()
      .then((response) => {
        setData(response);
        setIsLoading(false);
      })
      .catch((err) => {
        setIsLoading(false);
        setError(err);
      });
  }, []);

  return { isLoading, data, error };
}
The most complex part is the useEffect hook: because it has no dependencies, the effect is called when the component is mounted. Basically it says: when this component is mounted, send the request. Then, based on the results, change the state of the component accordingly.
The case of a reducer #
The code above follows a very common pattern: lot of useState calls with interdependent states. By interdependent I mean: we usually change the "isLoading" state when "response" state changes (and/or viceversa).
So here's our first "reducer" use case:
When we have a component/hook with several useState with related state, it's probably better to use a reducer
Another typical case for a reducer is when we have a form with "sub-forms" (so we don't know in advance the "shape" of the form data). That case (I'll cover in next episodes) it's perfect to reducers.
The simplest solution: state objects #
One of the benefits (not the only) of using a reducer is that it simplifies the code. But also reducers adds some complexity (to begin with, we have to learn new concepts: actions, dispatch...)
There's a way to simplify the code above (without using reducers) that is a step towards the reducer itself: use an object to store all the state.
Here's the hook with state objects:
type QueryStatus = {
  isLoading: boolean;
  data?: object;
  error?: any;
};

function useQuery(fetch: () => Promise<any>) {
  const [status, setStatus] = useState<QueryStatus>({ isLoading: false });

  useEffect(() => {
    setStatus({ isLoading: true });
    fetch()
      .then((data) => setStatus({ isLoading: false, data }))
      .catch((error) => setStatus({ isLoading: false, error })
  }, []);

  return status;
}
The first change (also required when using reducers) is to create an object to represent our state. In this case, we represent it with a typescript type (the QueryStatus)
The second change is to set the whole state in one call. This is also the way reducers work.
With this simplification, the code is shorter and easier to reason about. For example, in the first version (with several useState) we could have this question: is there any moment where isLoading is true and data is not empty? Not easy to answer.
The second version makes those kind of reasoning much simpler.
Next episode: write a reducer
The next week I'll write the above example with a reducer, and talk about benefits of it.
Extra #
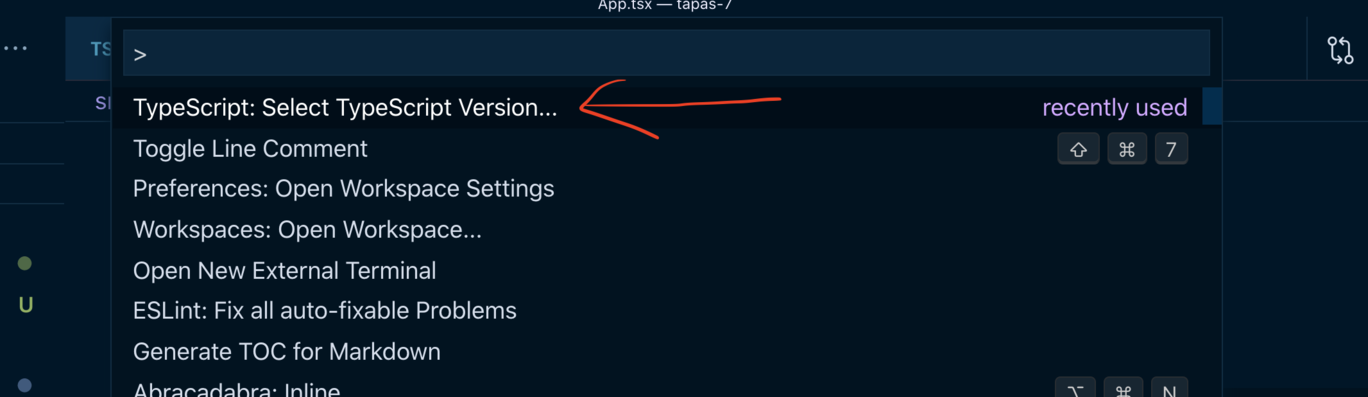
- Latest version of create-react-app breaks vscode. The solution is to change the vscode's typescript version:
Resources